VS Code で PlantUML を使う
目次
はじめに
M2 MacBook Air で PlantUML の環境構築をした際の手順をまとめました。
Homebrew をインストール
Homebrew を使ってインストールをしていくため、入っていない場合は下記の記事を参考にしてインストールしてください。
M2 Mac に Homebrew をインストール (opens new window)
Java をインストール
brew install --cask adoptopenjdk
Graphviz をインストール
$ brew install graphvizs
PlantUML をインストール
brew install plantuml
VS Code のプラグインをインストール
VS Codeが入っていない場合はインストールします。
brew install visual-studio-code
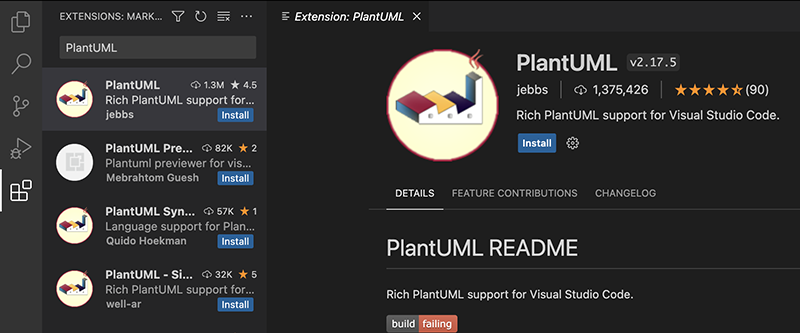
VS Code 上で PlantUML のプラグインをインストールします。
使ってみる
ファイルの拡張子はwsd, pu, puml, plantuml, iumlに対応しています。
@startuml
abstract        abstract
abstract class  "abstract class"
annotation      annotation
circle          circle
()              circle_short_form
class           class
diamond         diamond
<>              diamond_short_form
entity          entity
enum            enum
interface       interface
@enduml
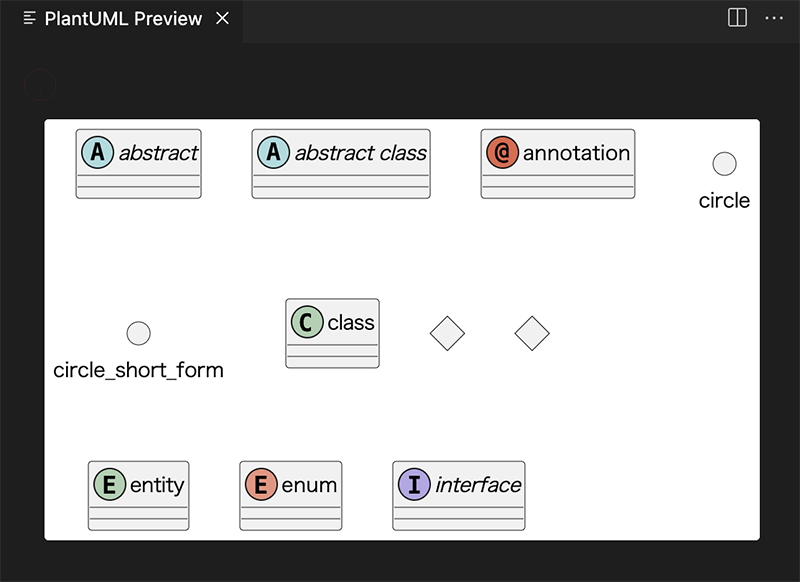
Option + dを押すとプレビューを表示できます。
プレビュー上で赤い!マークが表示されて Warning: the fonts "Times" and "Times" are not available for the Java logical font "Serif", which may have unexpected appearance or behavior. Re-enable the "Times" font to remove this warning. という警告文が出てきたら、VS Code の設定に下記を追加します。
"plantuml.server": "http://www.plantuml.com/plantuml",
"plantuml.render": "PlantUMLServer",
"plantuml.jarArgs": ["-Djava.awt.headless=true", "-Dplantuml.include.path=/Library/Fonts/"]
plantuml.jarArgsのplantuml.include.pathパラメータは、フォントファイルがインストールされているディレクトリに合わせて変更してください。
画像で保存する
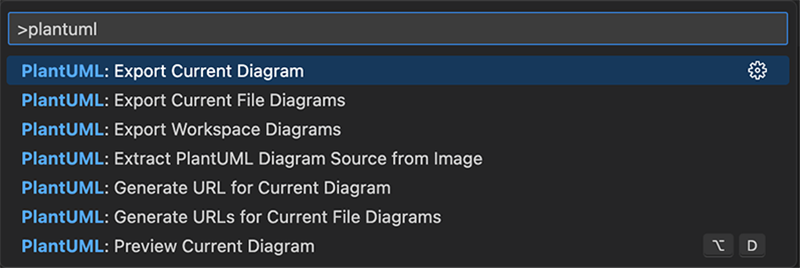
command + shift + pでコマンドパレットを表示し、plantumlと入力します。
PlantUML: Export current diagramを選択しましょう。
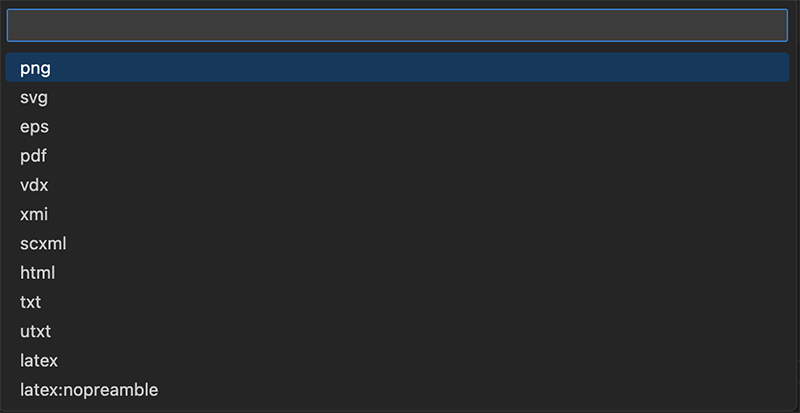
保存するファイル形式を選択します。